 10 MIN READ
A heated towel warmer is an electric appliance, not a plumbing fixture. There are no water lines inside. That one fact shapes the entire installation. You need power. You need a wall that can carry the load. And if you want the cleanest finished look, you need to plan before the walls go up. Here’s what U.S. homeowners, builders, and electricians should confirm before buying or installing a heated towel warmer.
Plug-in, hardwired, or rough-in? Start here.
The short answer: rough-in is the best choice when it’s possible. Hardwired direct wiring is the alternative if rough-in isn’t feasible. Plug-in is the easiest retrofit.
A plug-in model only needs an available power outlet. Installation is simple, but the power cord is exposed.
A hardwired or rough-in model looks cleaner because there’s no visible cord. The trade-off is planning. You need the towel warmer’s technical drawings early in the renovation so wiring and rough-in fittings can be reserved in the correct position.
Rough-in is the most recommended option. It is more standardized, easier to install, simpler to maintain and service later, and offers higher safety in daily use.
If you don’t want to modify your walls, plug-in versions are available. They require very little installation work.
What to confirm before hardwiring a towel warmer
Before hardwiring, confirm two things: the future mounting position of the towel warmer and the location of the pre-reserved wiring.
The reserved electrical wire must be properly grounded.
[Brand] provides positioning drawings for hardwired and rough-in installations. You can attach the drawing to the wall to locate the correct position for wiring or rough-in fittings. Detailed drawings are also in the specification sheet on each product page.
Reserve wiring strictly according to the drawing specifications. Then check the wall’s load-bearing capacity. The wall should support at least 30 kg (about 66 lb).
Once the positions, rough-in preparations, and wall strength are confirmed, you’re ready for hardwired installation.
Rough-in wire length: plan the junction box
During installation, a junction box needs to be reserved. The wires from the rough-in part must be routed to the junction box.
Because the junction box can be placed in different positions, the wire length should be selected based on the distance between the rough-in part and the junction box.
The same applies if you choose the XA or XM thermostat, which comes with a back box. The back box wires also need to be routed to the junction box. Choose the proper wire length based on the relative position between the back box and the junction box.
Refer to the user manual and technical guidelines for details.
What ships first—and when the main unit arrives
Once the order is confirmed, rough-in parts ship first. This prevents delays during wall and electrical construction.
If you ordered an XA or XM thermostat, the corresponding back boxes also ship ahead of time. A positioning template is included to help locate the rough-in parts and hardware wires.
About 12–15 weeks later, you’ll receive the customized main body of the towel warmer. That completes the shipping process.
Do you need an electrician?
For installation, we recommend hiring a local licensed electrician.
If you have hands-on experience, you can install it yourself by following our instructional videos and user manuals—especially for plug-in and rough-in versions.
For direct hardwired installation, we strongly recommend hiring a professional electrician. During installation, two people are also suggested for mounting the main unit on-site.
How high should a heated towel warmer be mounted?
Mounting height depends on your bathroom. Check for obstructions above or below the installation wall.
As a general rule, install the towel warmer at a height that makes it easy and comfortable for users of different heights to hang and pick up towels.
Don’t mount it too low. Long towels may drag on the floor.
Also avoid areas with direct water spray, such as a position directly facing the shower head inside a shower enclosure. That helps prevent safety risks.
Heat, overheat protection, and surface temperature
All P&Bhusri towel warmers have built-in overheat protection.
If the towel warmer cannot dissipate heat under unexpected conditions and the temperature keeps rising, the overheat protection and temperature-sensor-based thermostat keep the temperature within a safe range to prevent burns. Surface temperature is generally limited to below 167°F.
Always choose a towel warmer with overheat protection. Avoid products without built-in overheat protection.
When using the towel warmer, do not wrap it tightly with thick textiles that have no ventilation. That traps heat. Heat build-up can damage fabrics and may even cause burns.
For models with a thermostat, the temperature is adjustable within 102–118°F.
For on-off only versions without temperature adjustment, the surface temperature fluctuates with ambient temperature. At an ambient temperature of 77°F, the surface temperature is approximately 113°F.
The towel warmer itself generally takes 5–10 minutes to reach its set temperature. Heating towels takes longer. It depends on moisture content, material, thickness, towel warmer size, and power. Under normal and suitable conditions, it takes about 20 minutes to heat towels.
Yes, you can leave a towel warmer on all day. It is designed for continuous-on and permanent heating operation. You can leave towels on it for constant drying and warming.
Temperature adjustment is available when the unit is equipped with a thermostat. Some models include a thermostat as standard. For others, it is an optional accessory.
Certification, voltage, and GFCI
P&Bhusri towel warmers sold in North America are certified to UL standards for the United States and Canada.
We offer both 120-volt and 220-volt versions. Please specify your required voltage when placing your order.
From a safety perspective, we recommend using a dedicated GFCI circuit for the towel warmer. It provides an extra level of safety.
Can a heated towel warmer be installed in a shower, wet room, or damp environment?
Our heated towel warmers can be installed in damp bathroom environments. However, we strongly do not recommend installing them where they will be exposed to direct water spray.
For plug-in models, avoid locations where water may splash onto the power outlet. Some moisture and humidity are acceptable. Heavy direct water spraying should be avoided to prevent safety hazards.
Installation above a bathtub is allowed, but avoid heavy direct water spraying onto the unit during use.
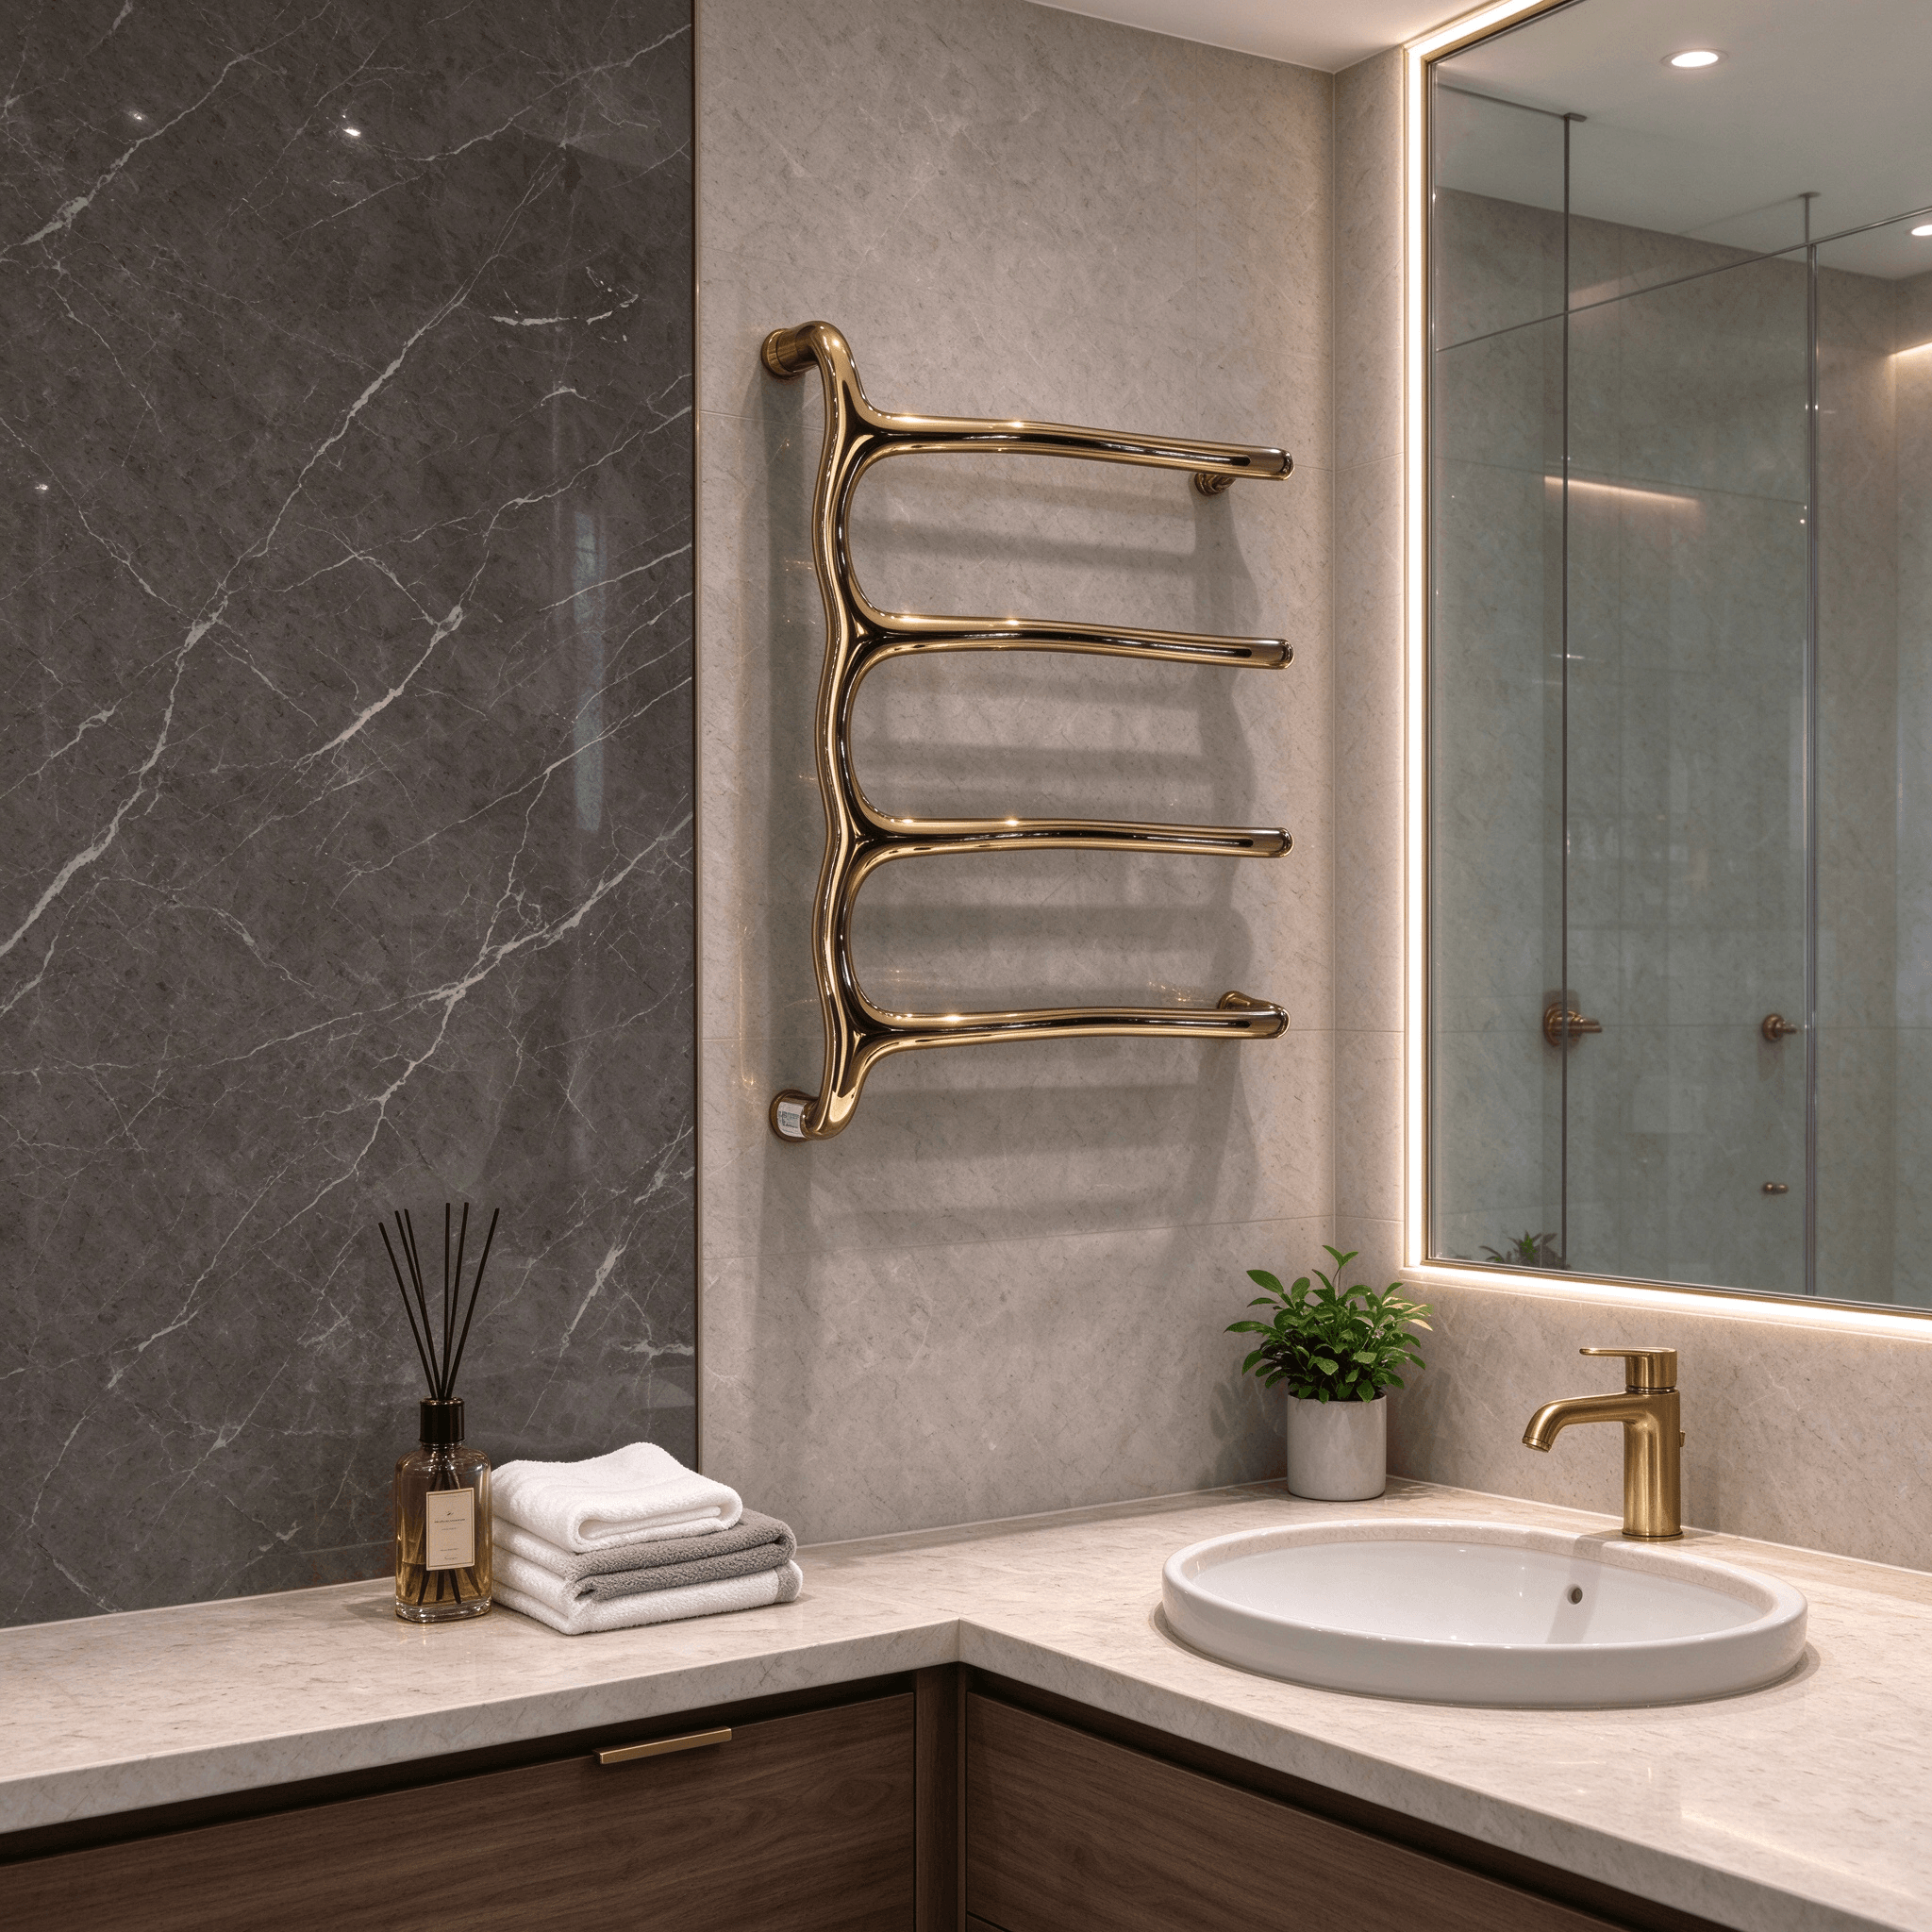
Wall types, studs, and mounting hardware
We recommend mounting the towel warmer onto wall studs.
We supply a mounting template marking all mounting-point positions. You can use it to pre-plan stud locations during renovation.
We also include special hollow-wall anchors for hollow-wall installations. Both options are provided, but mounting onto wall studs delivers far greater stability.
For hollow-wall applications, hollow-wall anchors allow valid installation, but you must ensure the wall itself has adequate load-bearing capacity.
We support installation on two wall types and provide matched installation kits:
Hollow wall with internal framework: Special hollow-wall installation components are included.
Solid wall: Grooving and embedding construction is required on-site, together with dedicated solid-wall installation accessories.
Our products come with a complete set of installation accessories, including wall plugs, screws, and all mounting bases. We recommend using our supplied hardware, which is sufficient for standard installation. Under special circumstances, you may choose alternative mounting solutions according to on-site conditions, or consult our service team for advice.
Our products are electric-heated rather than water-heated units, so they are not subject to plumbing codes. There are no water pipes inside the towel warmers. You only need to arrange the corresponding electrical wiring and complete rough-in installation.
Cord and lead lengths
The standard cord length for plug-in models is 1 meter (about 3.3 ft). If you need a different cord length, note your requirement when placing your order with customer service. Extended and custom cord lengths are available.
For rough-in versions, the standard lead length is 2 meters (about 6.6 ft). We also offer standard options of 5 m (16.4 ft), 10 m (32.8 ft), and 15 m (49.2 ft). You may select your required lead length at the time of order placement.
Thermostats, wall controls, and push buttons
A push-button switch only controls the on-off status of the product. It cannot adjust temperature or set timers.
When connected with a wall controller, you can set the heating temperature and define the heating duration for more convenient, intuitive operation. For some models, the wall-mounted controller offers extra convenience because its installation height and position can be adjusted according to your preference.
By contrast, the push button is usually located at the bottom of the unit.
The push-button configuration is recommended if you prefer to keep the unit running continuously at a constant temperature.
If you frequently turn it on and off and want a better user experience—for example, a lower temperature in summer and warmer heat in winter based on ambient conditions—we recommend the version with a wall-mounted thermostat controller.
With our thermostat, you can set different operating temperatures. You can also set operating timers for better energy-saving performance. You can set it to always-on mode for continuous heating, which is fully supported.
Choose different thermostats or towel warmer models based on your personal usage habits and application scenarios.
Capacity, even heating, materials, and tolerances
Capacity varies greatly depending on the size of the towel warmer. Larger models can dry more towels.
Towels may be overlapped during warming and drying. However, do not fully cover the towel warmer. Leave some space for heat dissipation. Otherwise, the unit may not dissipate heat properly, resulting in an excessively high surface temperature.
Why doesn’t a towel feel evenly warm? It’s usually a matter of matching the towel to the towel warmer.
For large bath towels, choose a larger-size model that allows full contact between the bath towel and the towel warmer. When the towel and unit are well matched, the towel heats more evenly.
Some towel warmers are single-rod designs. For even heating with these models, you may need to wrap the towel around the rod.
Our towel warmers are generally made of 304 stainless steel or 316 stainless steel, while some accessories are made of copper. Refer to the product introduction for the specific material of each towel warmer.
Dimensional tolerance depends on the product line. The S series is fully handcrafted with manual polishing and fine grinding, leading to a tolerance of around 1 inch. All other product series have a controlled tolerance within 5 mm (approximately 0.197 inches).
Specs, manuals, and professional installation guidance
On each product page, there is a resource section where you can download specification documents. These include detailed installation dimensions and wiring methods.
For full user manuals, access the resource section on our website to download manuals matching different product models.
Each product also comes with a specification manual containing complete installation requirements and technical parameters. We provide 1:1 positioning paper templates to mark the exact position of embedded parts.
Customers can request the positioning template from our customer service team in advance to complete electrical pre-embedding preparation in the early construction stage.
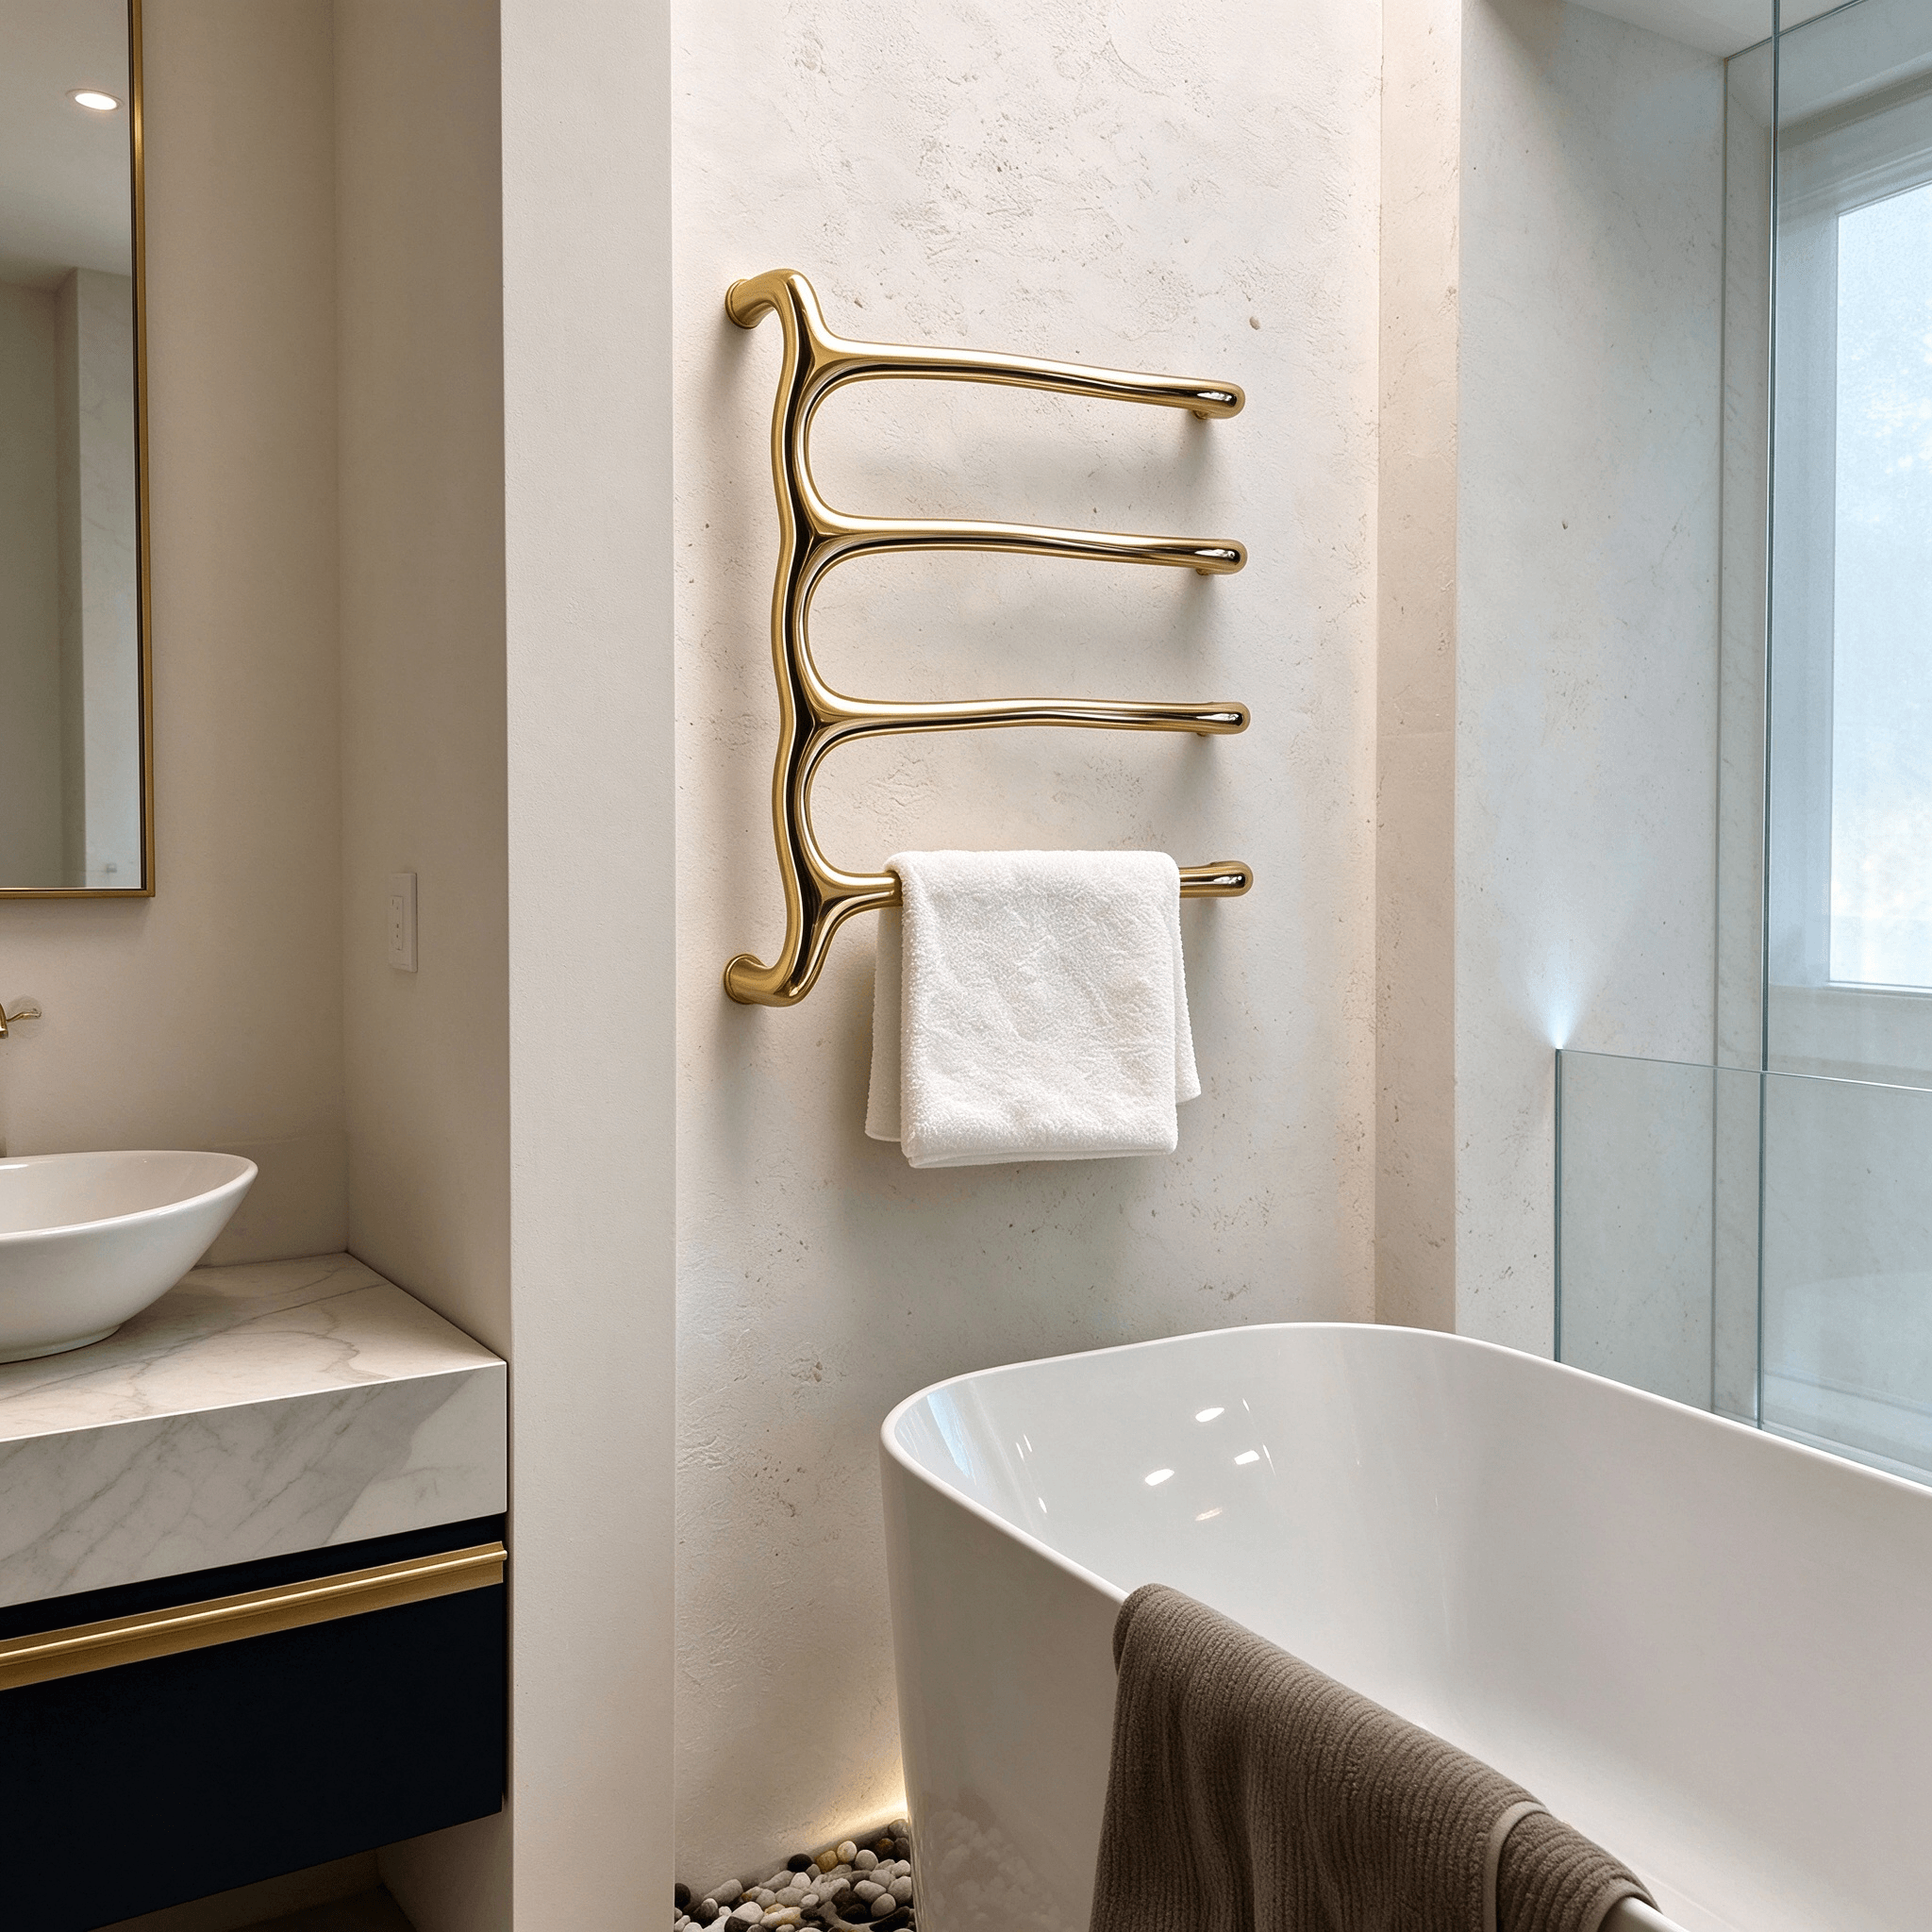
Quick answers for U.S. buyers
Q: Is plug-in or hardwired better?
A: Rough-in is most recommended. It looks cleaner and is more standardized, easier to install, and simpler to maintain. Hardwired direct wiring is an alternative if rough-in isn’t feasible. Plug-in is easiest if you don’t want to modify walls.
Q: Do I need an electrician?
A: We recommend a local licensed electrician. Experienced DIYers can follow our videos and manuals for plug-in and rough-in versions. For direct hardwired installation, hire a professional.
Q: How high should it be mounted?
A: Mount it at a comfortable height for different users. Don’t mount it too low, and avoid direct water spray from a shower head.
Q: Is it safe?
A: Our products have built-in overheat protection. Surface temperature is generally limited to below 167°F. Choose UL-certified models and avoid tightly wrapping the unit with thick, non-breathing textiles.
Q: 110V or 220V?
A: We offer 120V and 220V versions. Specify your voltage when ordering.
Q: Does it need a dedicated GFCI circuit?
A: We recommend a dedicated GFCI circuit for extra safety.
Q: What cord lengths are available?
A: Plug-in standard cord is 1 m. Rough-in standard lead is 2 m, with 5 m, 10 m, and 15 m options. Custom lengths are available for plug-in models.
Q: Can I leave it on all day?
A: Yes. It is designed for continuous-on and permanent heating operation.
Q: How many towels can it hold?
A: Capacity depends on model size. Larger models dry more towels. Don’t fully cover the unit—leave room for heat dissipation.
Q: What are they made of?
A: Generally 304 or 316 stainless steel, with some copper accessories. Check each product page for details.
Q: Do they comply with plumbing codes?
A: They are electric-heated, not water-heated. There are no water pipes inside, so they are not subject to plumbing codes. You only need to arrange electrical wiring and rough-in installation.
Q: Is professional installation guidance available?
A: Yes. Each product includes a specification manual and a 1:1 positioning template. Request the template from customer service before construction.